
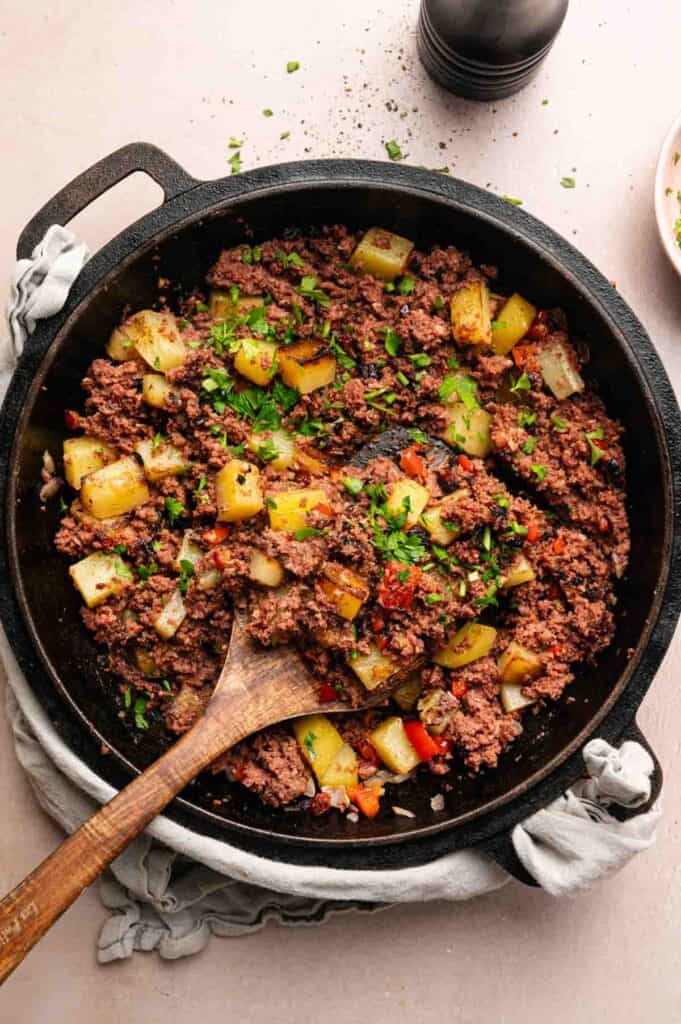
Corned Beef Hash

Corned Beef Hash is what I make when I want to use up St. Patrick’s Day leftovers, and now my family requests it year-round. The potatoes turn crispy and golden, the corned beef gets salty and caramelized, and everything develops that classic diner-style crust. You’ll love how hearty it is, especially with a fried egg on top.

This post contains affiliate links. As an Amazon Affiliate, if you purchase through those links, I earn a commission. Thank you!
I make it when I’ve got leftover corned beef from dinner, and it’s become my favorite way to turn those leftovers into breakfast. You’ll also see it on my brunch table for weekend mornings, lazy Sundays, and any time I want a hearty skillet meal. It keeps in the fridge for about 3 days or in the freezer for up to 2 months, and reheats beautifully.
Ingredients You’ll Need
You’ll need all the ingredients shown in the photograph below.

How to Make Corned Beef Hash with Step-By-Step Instructions
Scroll down for the full recipe card containing a full printable recipe and measurements in both US customary and metric units.
I’ll walk you through getting that perfectly crispy hash with golden edges and tender centers.
Heat the Skillet and Cook the Vegetables
Heat your skillet over medium heat and melt 1 tablespoon of butter. I like using this cast-iron skillet because it retains heat well and helps create the crispy bits you’re after. Add the cubed potatoes, red onion, and red bell pepper, then season with salt and black pepper.
Cook for 8 to 10 minutes, stirring occasionally, until the vegetables soften and the potato cubes begin to brown. You’ll notice the potatoes developing golden spots where they touch the pan.
Add the Corned Beef and Form the First Crust
Stir in the chopped corned beef, then spread it into an even layer across the pot. I use a meat chopper to gently press the chunks down so the mixture makes good contact with the hot surface.
Let it cook without stirring for 3 to 5 minutes until you hear it sizzling and a golden crust forms on the bottom of the pan. You’ll know it’s ready when the edges start to pull away from the pan.
Flip and Repeat for Maximum Crispiness
Use your spatula to flip sections of the hash, working your way around the skillet rather than trying to flip the whole thing at once. A wide silicone spatula makes flipping sections easier by sliding under the crust without breaking it.
Add the remaining tablespoon of butter if the pan looks dry, letting it melt and pool around the edges. Press the mixture into an even layer again and cook undisturbed for another 3 to 5 minutes, until crispy.
I usually repeat this process two or three times until the hash reaches my preferred level of browning and flavor.
Finish and Serve
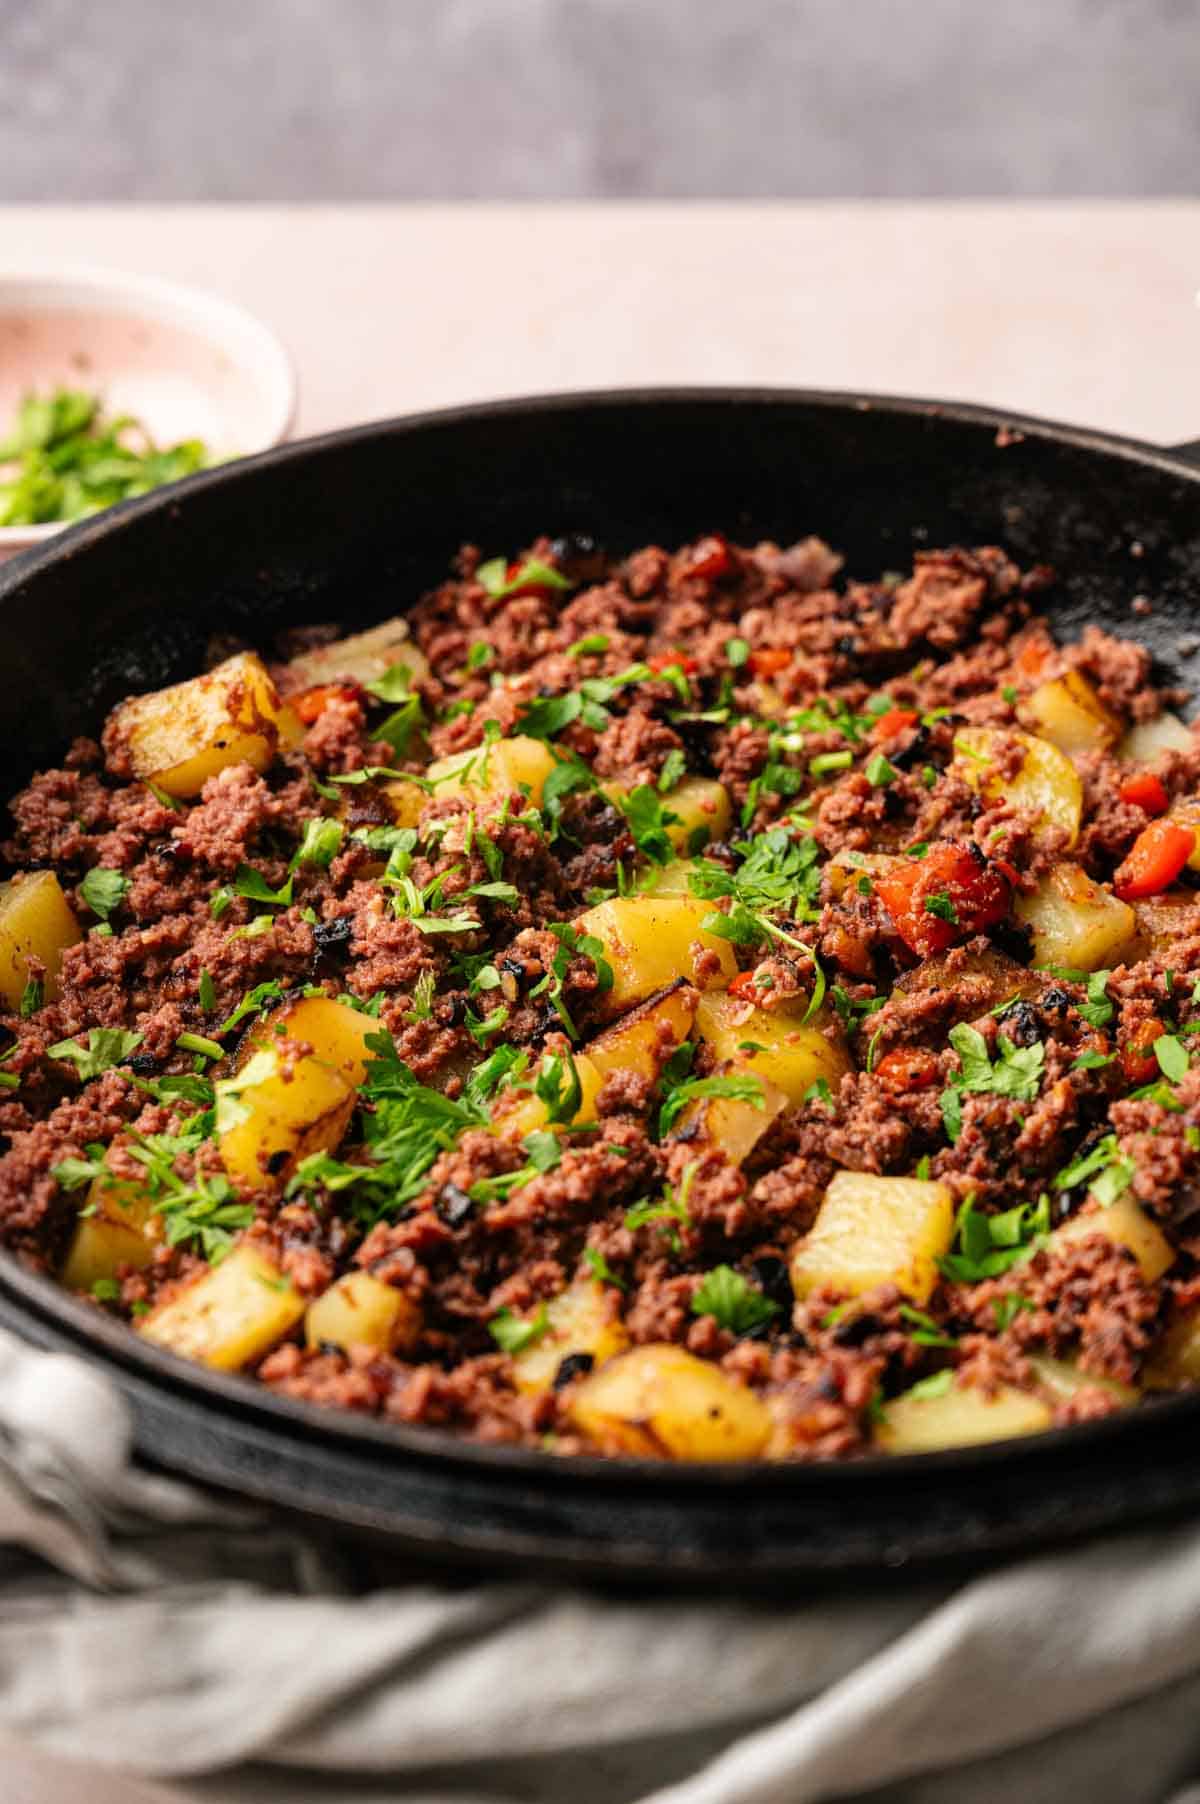
Once you’ve got crispy bits throughout and everything’s heated through, remove the skillet from the heat. Garnish with fresh parsley and serve hot. Enjoy!
If you’re taking it to a potluck or brunch gathering, transfer the hash to this insulated casserole carrier to keep it warm during transport. The insulated design retains heat for hours, so it arrives ready to serve.
Equipment
Ingredients
- 1 ½ cups cooked potatoes diced
- 2 tablespoons unsalted butter divided
- ½ small red onion diced
- ½ red bell pepper diced
- Salt and black pepper to taste
- 2 cups cooked corned beef chopped
- Parsley for garnish

Video
Instructions
- Heat a large skillet over medium heat and melt 1 tablespoon of the butter.2 tablespoons unsalted butter
- Add the potatoes, red onion, and red bell pepper. Season with salt and pepper. Cook for 8 to 10 minutes, stirring occasionally, until the vegetables soften and the potatoes begin to brown.1 ½ cups cooked potatoes, ½ small red onion, ½ red bell pepper, Salt and black pepper
- Stir in the chopped corned beef and spread the mixture into an even layer.2 cups cooked corned beef
- Let cook without stirring for 3 to 5 minutes, until a golden crust forms on the bottom.
- Flip sections of the hash, add the remaining butter if needed, and press into an even layer again.
- Cook for another 3 to 5 minutes until crispy. Repeat until the hash reaches your desired level of browning.
- Garnish with parsley. Serve hot.Parsley
Notes
- Use fork-tender corned beef: This recipe works best with already-cooked corned beef from dinner or store-bought deli corned beef that’s fork-tender. You’ll need about 2 cups chopped into bite-sized pieces.
- Dice everything uniformly: When you dice the potatoes, onion, and bell pepper into similar-sized pieces, they cook at the same rate, resulting in a consistent texture throughout the hash.
- Cook on the stove with russet potatoes: The stove gives you better control over the heat to develop a golden crust, and russet potatoes hold their shape beautifully when diced, while still getting crispy edges.
- Let the crust form: Do not stir for 3 to 5 minutes so the bottom turns golden and crispy. You’ll hear it sizzling and smell it caramelizing when it’s ready to flip.
- Press it down: Use your spatula or meat chopper to press the hash firmly into an even layer after each flip. This creates more surface contact with the hot skillet and maximizes the crispy bits.
- Flash-freeze for meal prep: Spread cooled hash on a baking sheet and freeze for 1 hour, then transfer to containers so the pieces don’t stick together. You can grab individual portions straight from the freezer for quick breakfasts.
Nutrition
How to Store Leftovers
Let the hash cool completely before transferring it to an airtight container. It’ll keep in the refrigerator for about 3 days and reheats beautifully in a skillet over medium heat with a little butter.
Freezer-safe containers are perfect for longer storage of up to 2 months. To reheat from frozen, I thaw it overnight in the fridge, then warm it in a skillet until heated through and crispy again.
You can also reheat it straight from the fridge in the microwave, but you’ll lose some of that crispy texture. The skillet method brings back those golden edges and keeps everything from getting soggy.
What to Serve With Corned Beef Hash
I serve it with fried eggs on top so the runny yolks mix into the crispy potatoes and corned beef. It’s also great alongside fresh fruit, buttered toast, or simple green salad for brunch.
You could add hot sauce, ketchup, or dollop of sour cream on the side. Some people like it with sprinkle of shredded cheese melted on top during the last minute of cooking. It’s hearty enough to be complete meal on its own, but the eggs really make it feel like proper breakfast.
More Easy Recipes for You to Try at Home
Check out these other hearty breakfast recipes perfect for weekend mornings.