
Easy Apple Pie With the Best Filling
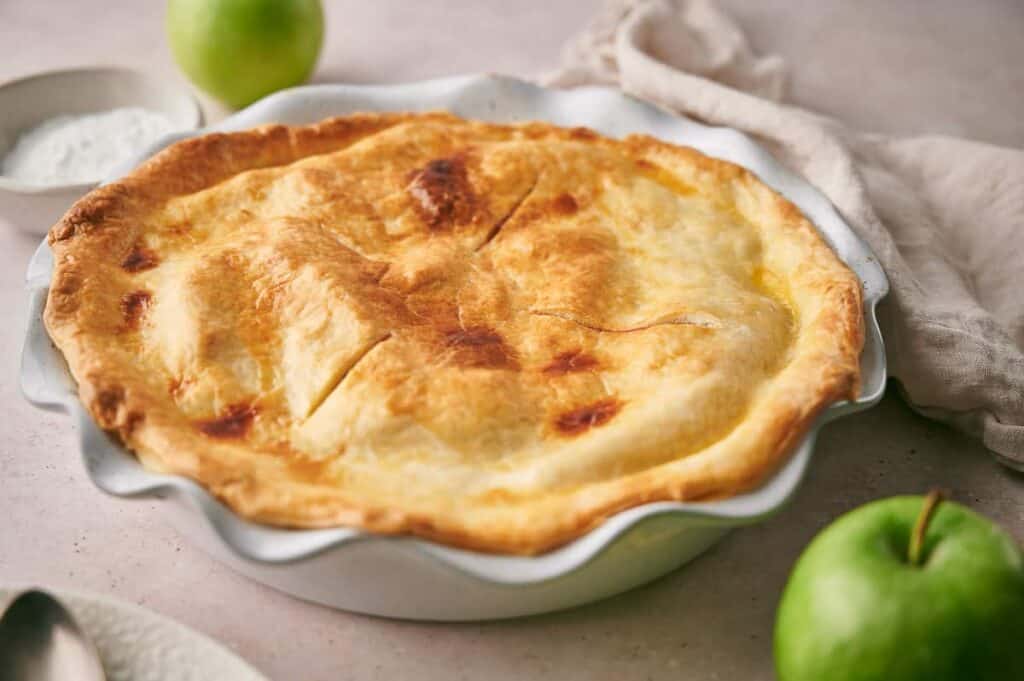
I don’t think there can be any better smell wafting through the kitchen than that of a freshly baked Apple Pie With the Best Filling. There’s something so comforting about taking a bite into the perfect pie crust and being treated to all of the wonderful apple pie filling. And what’s better is that it is SO easy! If you double up the ingredients and batch cook, you can freeze one for the future and bring the cost of making it down —winner-winner!

This post contains affiliate links. As an Amazon Affiliate, if you purchase through those links, I earn a small commission. Thank you!
Always bought your apple pies home from the store? Yes, there was a time when I did too, but not anymore, a) because homemade are so much better, and you know exactly what goes into them, and b) because when apples are in season, I batch cook the pies and save myself a lot of money.
And that’s in addition to being able to place the pie on the table at Thanksgiving or a family celebration and getting that proud feeling when people ask, ‘Did you make this?’
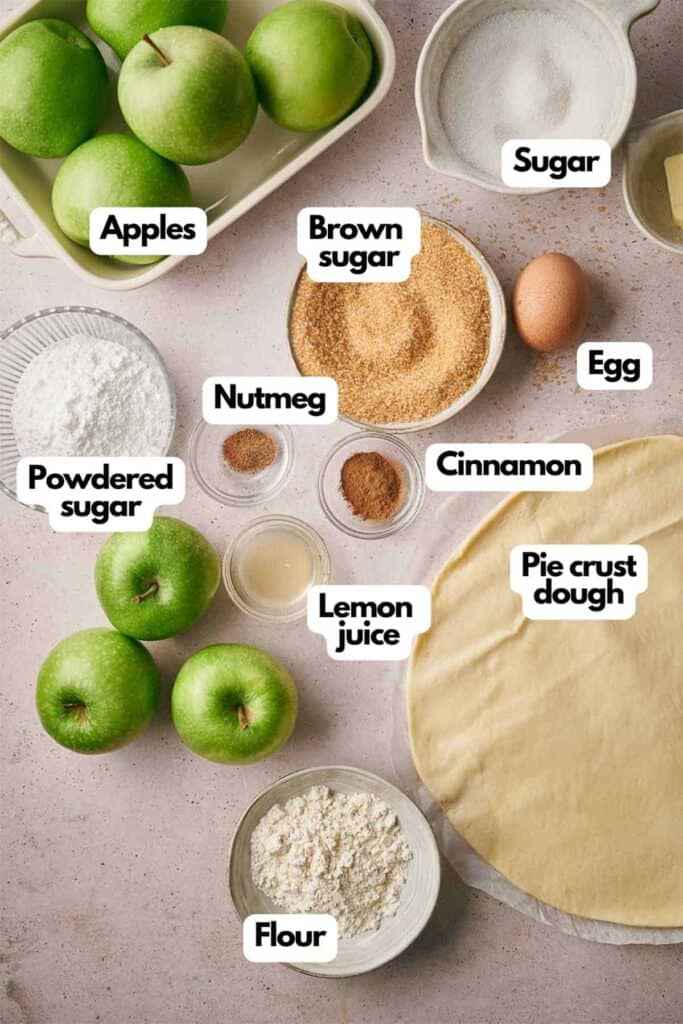
Ingredients You’ll Need
You’ll need all the ingredients shown in the photograph below.
How to Make Easy Apple Pie With Step-by-Step Instructions
I’ve made apple pie more times than I care to remember, and if you follow these instructions, yours will be equally as tasty.
The recipe card below contains a full printable recipe and measurements in both US customary and metric units.
Preheat your oven to 375°F/190°C.
Lightly flour your work surface and roll half of the pie crust dough into a ¼-inch thick circle.
Do you love a real homemade flaky pie crust? Check out my easy hommade pie crust recipe.
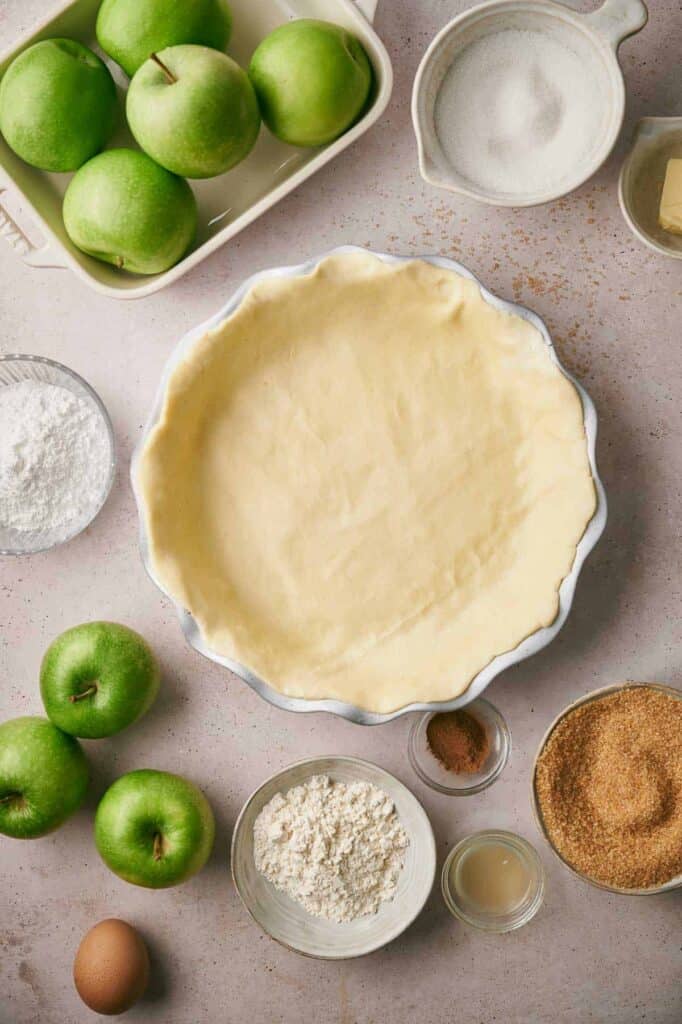
Then, transfer the pie dough to a prepared 9-inch pie deep dish pie plate or pie dish.
Place the plate in the fridge to chill while preparing the pie filling.
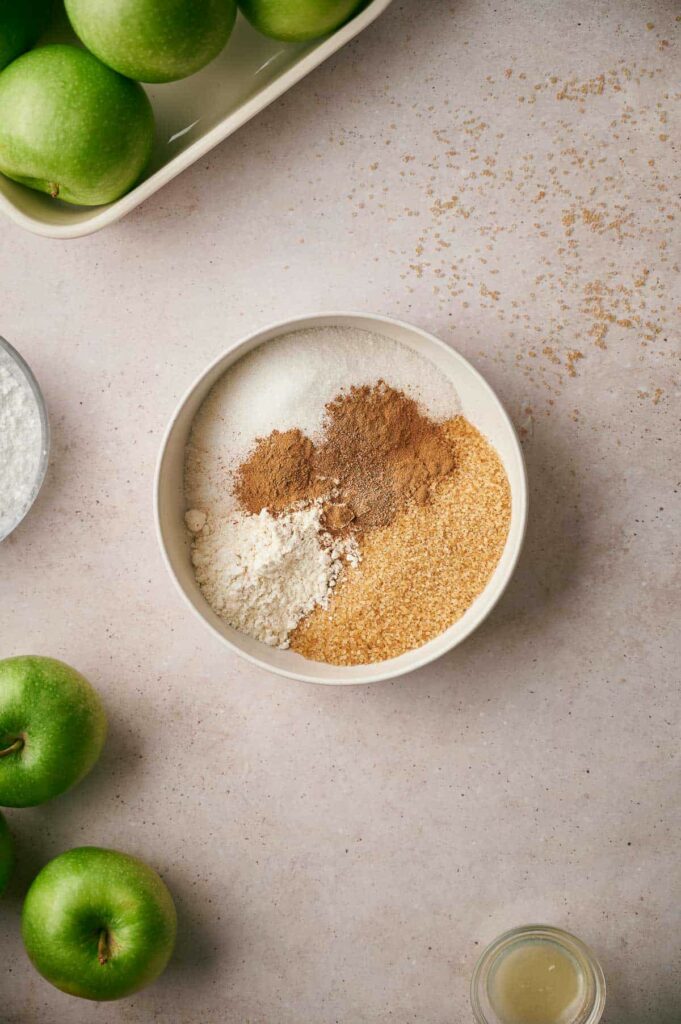
Combine the flour, sugar, brown sugar, ground cinnamon, and ground nutmeg in a mixing bowl and set aside.
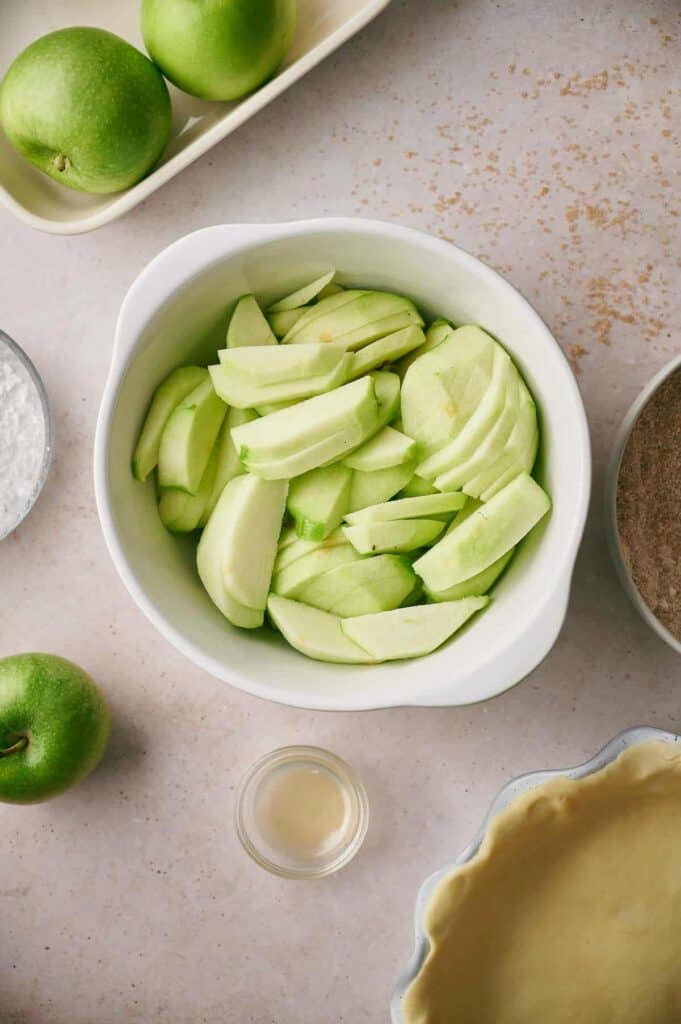
Then, in a large bowl, add fresh lemon juice to sliced apples and toss to coat; add the flour mixture and toss again to coat evenly.

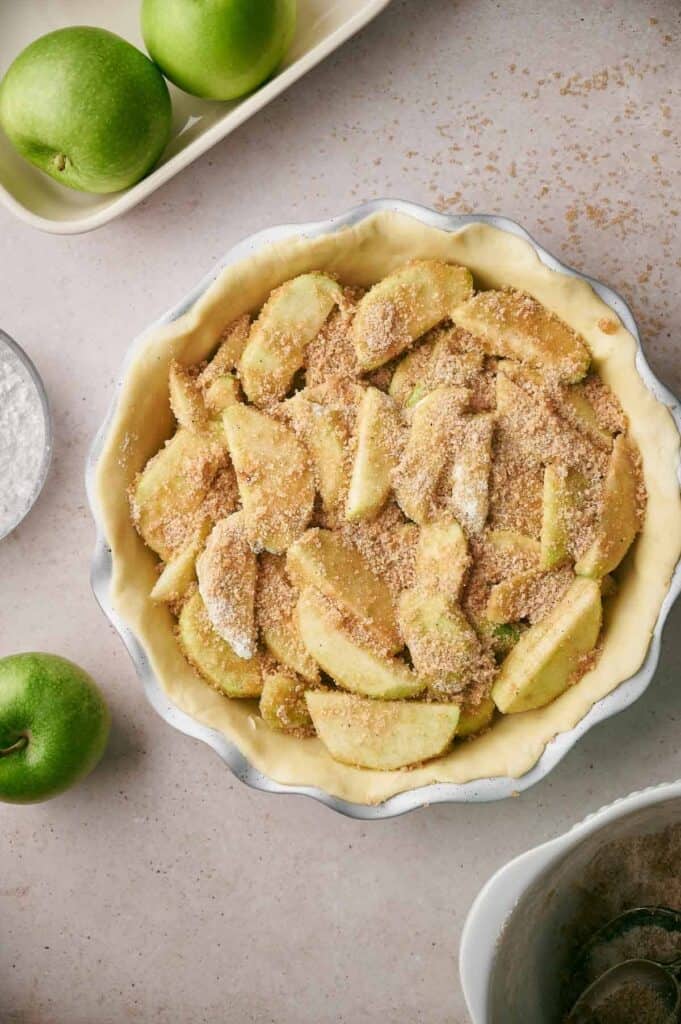
Add the apple filling to the pie crust, discarding any excess juices, as this will make your pie crust soggy.
Dot the apple pie filling evenly with pats of butter.
Now, roll out the remaining pie crust dough into ¼ inch thick circle and place it over the pie, ensuring that it covers the pie completely.
SERIOUSLY GOOD
DESSERTS!
Dessert First is a collection of 61 RECIPES to show you that you can make beautiful, impressive desserts right in your own kitchen, no matter your skill level.
Immediate eBook download. No physical book available.
∙ Lemon Pound Cake
∙ Starbucks Cake Pops
∙ Boston Cream Pie
∙ Chocolate Mousse
∙ Matcha Tiramisu
...and much more!
Includes ad-free recipes like:

Using a sharp knife, trim off any excess dough, then seal the dough and flute it using your fingers.
Now, cut four slits on top of the crust to allow the steam to vent, and place the pie on a baking sheet.
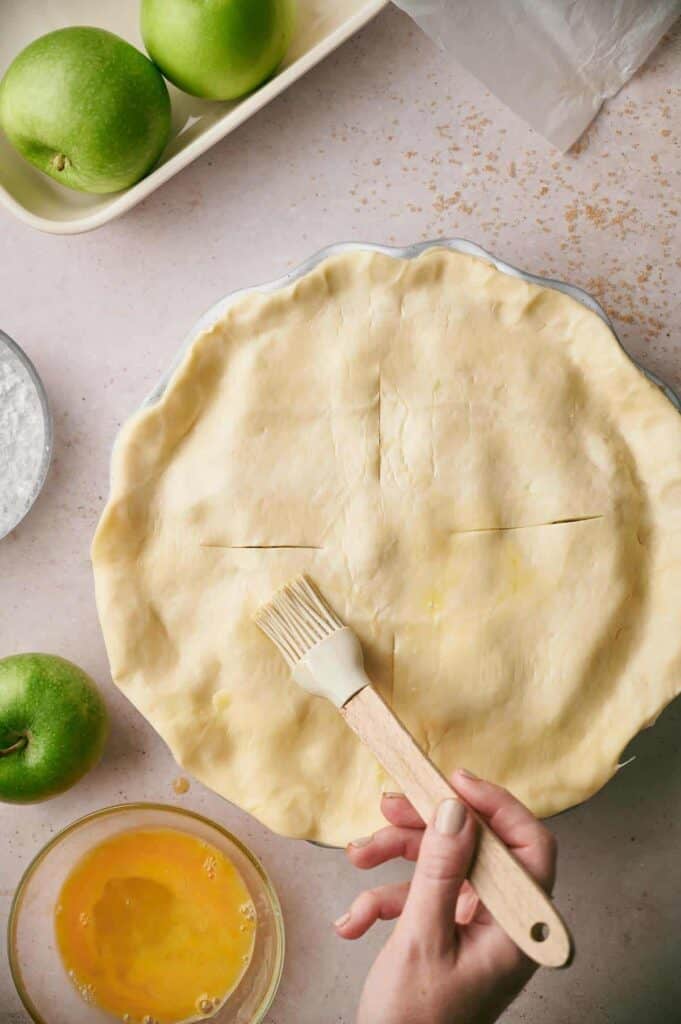
Brush the surface of your apple pie with egg wash. Optional: sprinkle turbinado sugar and cinnamon on top of the pie. Using either a pie shield or kitchen foil, cover the edges of the pie to prevent them from browning in the first 25 minutes of cooking.
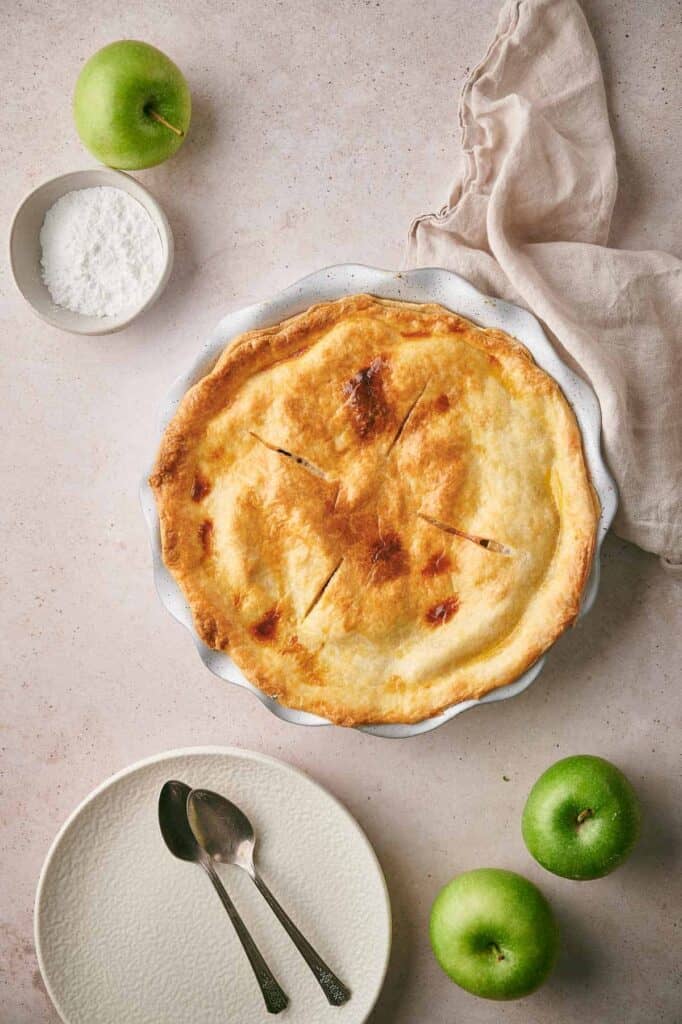
Bake for 25 minutes, remove from the oven, discard the shield or kitchen foil, and cook for a further 35 minutes until the top of the pie is golden brown and the filling is bubbling.
Remove the baked pie from the oven and place on a wire rack to cool at room temperature for at least 2 hours.
I usually love to serve apple pie after a wholesome family meal; if it’s Thanksgiving, then it’ll be full of roasted turkey, tater tot casserole, honey-glazed carrots, and all the trimmings.
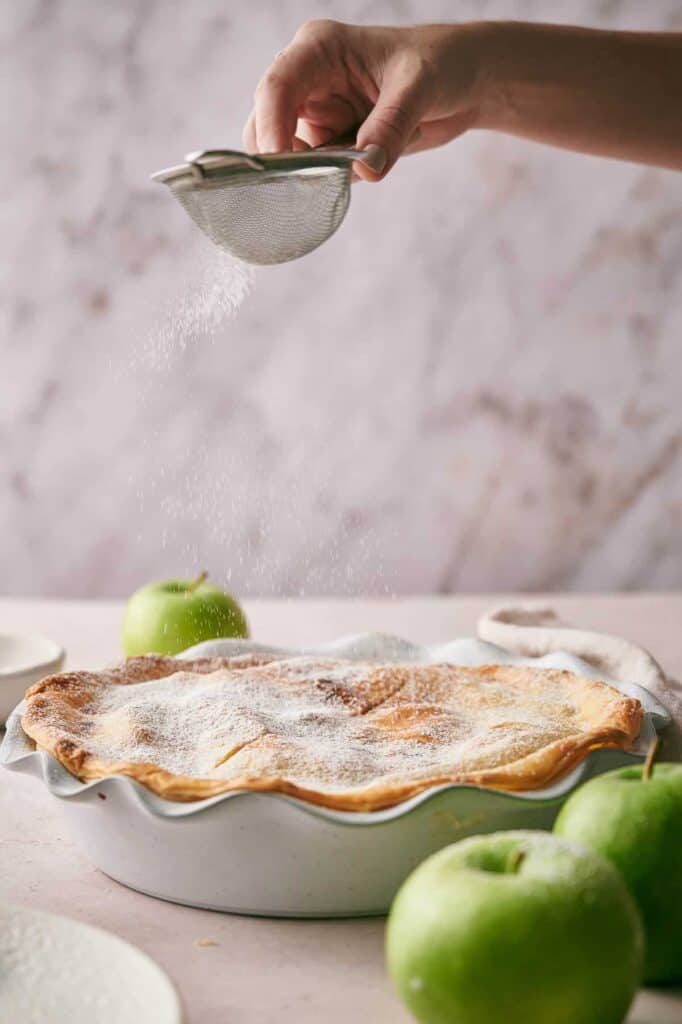
Serve immediately and enjoy!
Recipe Notes and Expert Tips
There’s nothing worse than buying all the ingredients, spending time preparing and baking, and the pie is a disaster; believe me, I’ve had that happen in the past.
So here are a few tips to help you get the perfect apple pie every time.
- Pick the Right Apples: Not all apples are equal when it comes to pie. I look for varieties that hold their shape and offer a balance of sweet and tart, like Granny Smith or Honeycrisp.
- Keep the Crust Cold: I love a flaky crust, and to achieve that you need to ensure that your butter is cold and try not to over-handle the dough. I pop my rolling pin in the refrigerator for 30 minutes before rolling it to chill it and chill the surface for extra flakiness.
- Season Smartly: Don’t just dump in sugar and cinnamon. Taste your apple mixture often and adjust the spices and sugar according to the natural sweetness of your chosen apples.
- Egg Wash: Brush the top crust with an egg wash to give it a beautifully golden, glossy finish. This also helps any sugar or spices sprinkled on top to adhere better.
- Protect the Edges: Use a pie shield or aluminum foil to protect the edges of your crust from burning while allowing the middle to cook thoroughly.
- Use a Glass or Ceramic Dish: These types of pie dishes conduct heat more evenly, which results in a more consistently baked pie.
- Let it Rest: After taking it out of the oven, allow your pie to cool for at least a couple of hours. This helps the filling set and makes for easier slicing.
How Do I Store Leftover Apple Pie?
It’s rare that I have leftover pie, but if I do, I want to make sure it’s as good the next day as it was when it was baked. So here are my top tips.
First, make sure the pie is completely cooled before storing it. Otherwise, the heat will cause the crust to become soggy, and nobody wants a soggy bottom.
You can store the pie in the refrigerator for up to four days, wrapped in plastic wrap or in an airtight container.
You can freeze apple pie for up to three months, making it perfect for batch cooking.
What to Serve With Apple Pie
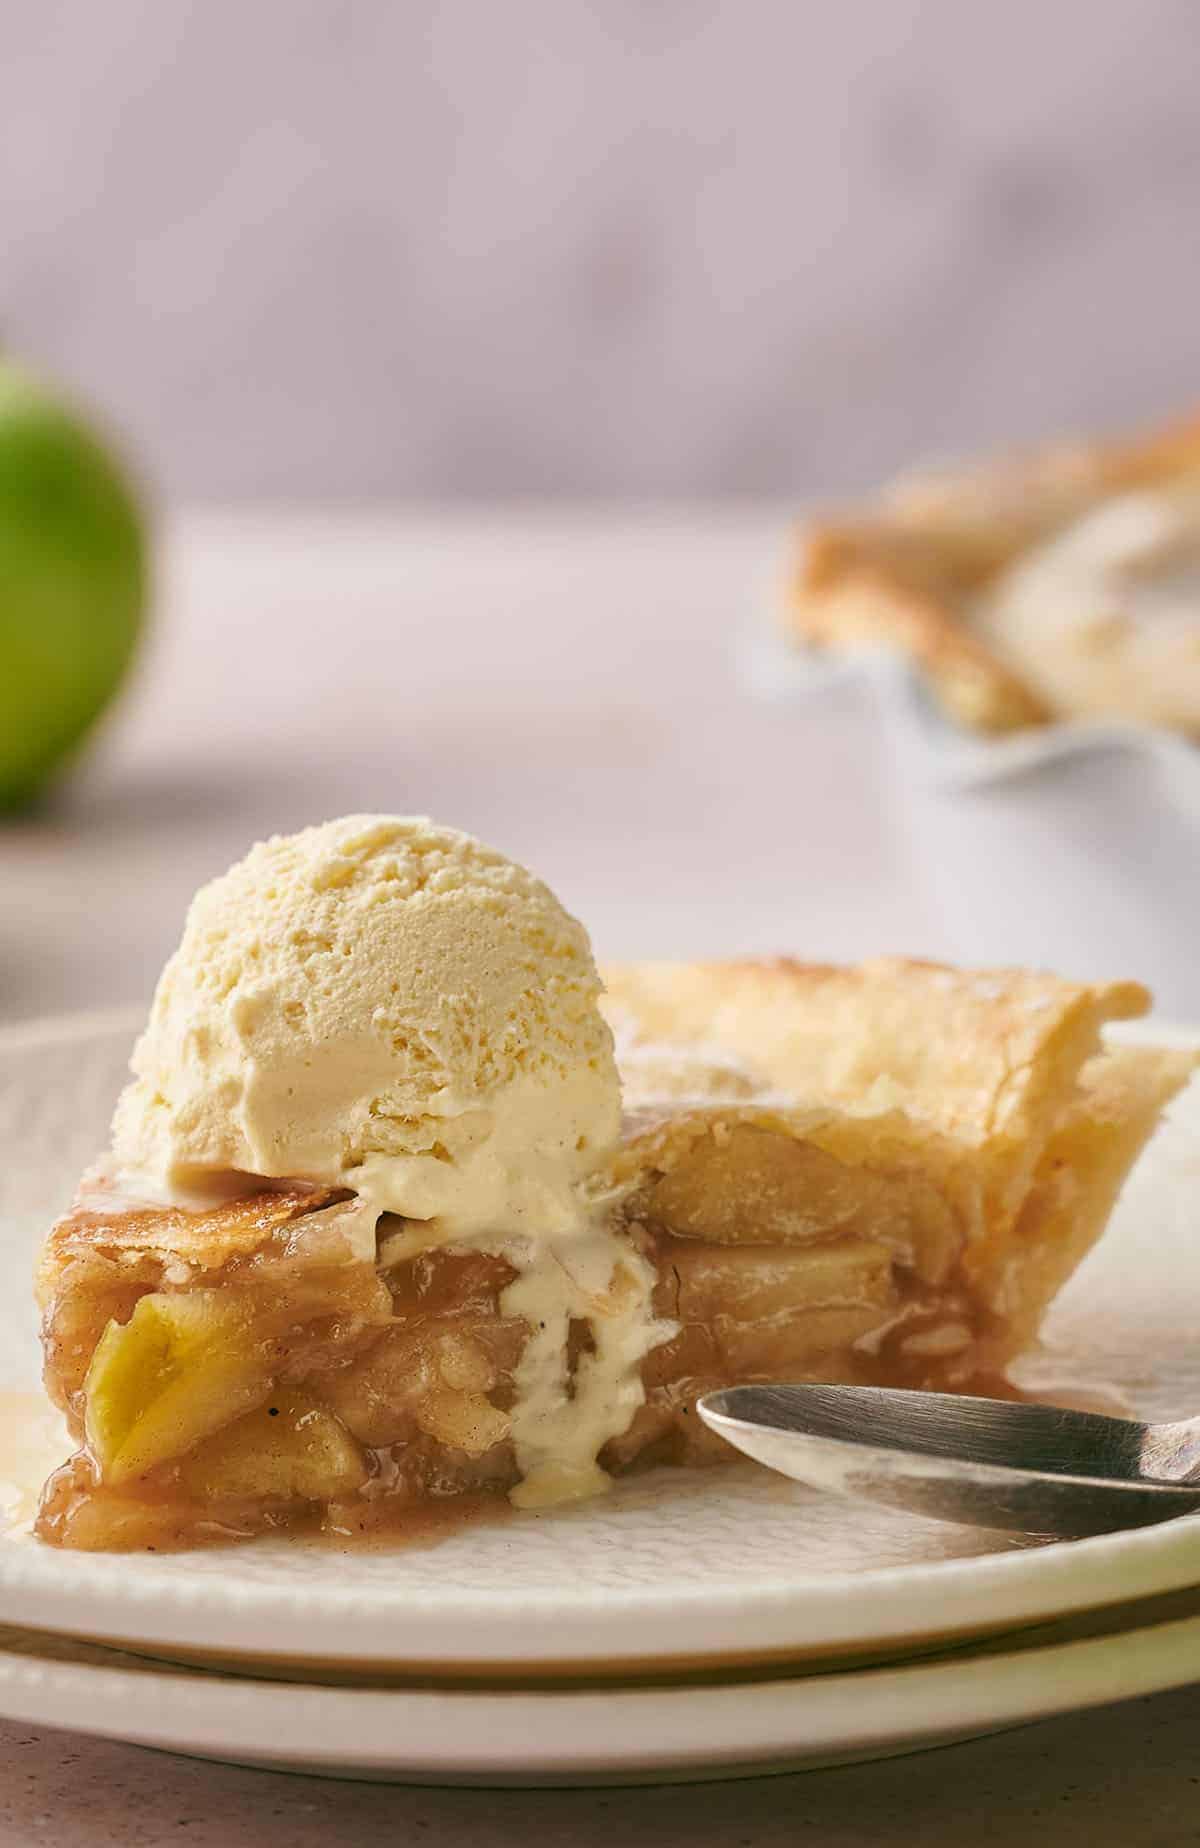
Of course, I love the classics, a nice dollop of whipped cream or vanilla ice cream, and my family is very happy.
Have you tried a little caramel sauce drizzled over the pie? It’s delicious. If you want to try something a little different, eat it with a slice of cheddar cheese, which complements the pie’s sweetness – try it!
Equipment
- 9 Inch pie plate
Ingredients
- 14.1 ounces pie crust dough
- ¼ cup all-purpose flour
- ⅓ cup sugar
- ⅓ cup brown sugar
- 1 teaspoon ground Cinnamon
- ¼ teaspoon ground nutmeg
- 1 tablespoon lemon juice
- 7 cups Granny Smith apples peeled and thinly sliced
- 1 tablespoon unsalted butter cubed
- 1 egg beaten
- Turbinado sugar and cinnamon optional
Instructions
- Preheat your oven to 375°F/190°C
- Lightly flour your work surface and roll half of the dough into a ⅛ inch thick circle. Then transfer the dough to a 9 inch pie plate. Place the plate in the fridge to chill while you prepare the apple filling14.1 ounces pie crust dough
- Combine flour, sugar, brown sugar, cinnamon, and nutmeg in a small bowl and set aside. Then, in a large bowl add apples, lemon juice, and toss. Now, add the flour mixture and toss to coat evenly. Add the filling to the pie crust in layers, discarding any juices, and evenly dot the apple mixture with butter¼ cup all-purpose flour, ⅓ cup sugar, ⅓ cup brown sugar, 1 teaspoon ground Cinnamon, ¼ teaspoon ground nutmeg, 1 tablespoon lemon juice, 7 cups Granny Smith apples, 1 tablespoon unsalted butter
- Now, roll out the remaining crust dough into a ⅛ inch thick circle and place it on over the filling, ensuring that it covers the filling completely. Using a sharp knife, trim off any excess dough, seal the dough, and flute it using your fingers. Now, cut 4 slits on the top of the pie to allow the steam to vent, and place the pie on a baking sheet
- Brush the surface of your apple pie with egg wash. Optional, sprinkle turbinado sugar and cinnamon on top of the pie. Using either a pie shield or kitchen foil, cover the edges of the pie to prevent them from browning in the first 25 minutes of cooking1 egg, Turbinado sugar and cinnamon
- Bake for 25 minutes and then remove from the oven and discard the shield or kitchen foil, then cook for a further 35 minutes until the top of the pie is golden brown and the filling is bubbling
- Remove from the oven and place on a wire rack to cool at room temperature for at least 2 hours
Notes
- Pick the Right Apples: Not all apples are equal when it comes to pie. I look for varieties that hold their shape and offer a balance of sweet and tart, like Granny Smith or Honeycrisp.
- Keep the Crust Cold: I love a flaky crust, and to achieve that you need to ensure that your butter is cold and try not to over-handle the dough. I pop my rolling pin in the refrigerator for 30 minutes before rolling it to chill it and chill the surface for extra flakiness.
- Season Smartly: Don’t just dump in sugar and cinnamon. Taste your apple mixture often and adjust the spices and sugar according to the natural sweetness of your chosen apples.
- Egg Wash: Brush the top crust with an egg wash to give it a beautifully golden, glossy finish. This also helps any sugar or spices sprinkled on top to adhere better.
- Protect the Edges: Use a pie shield or aluminum foil to protect the edges of your crust from burning while allowing the middle to cook thoroughly.
- Use a Glass or Ceramic Dish: These types of pie dishes conduct heat more evenly, which results in a more consistently baked pie.
- Let it Rest: After taking it out of the oven, allow your pie to cool for at least a couple of hours. This helps the filling set and makes for easier slicing.
Nutrition
SERIOUSLY GOOD
DESSERTS!
Dessert First is a collection of 61 RECIPES to show you that you can make beautiful, impressive desserts right in your own kitchen, no matter your skill level.
Immediate eBook download. No physical book available.
∙ Lemon Pound Cake
∙ Starbucks Cake Pops
∙ Boston Cream Pie
∙ Chocolate Mousse
∙ Matcha Tiramisu
...and much more!
Includes ad-free recipes like: