
Spooky Eyeball Truffles Recipe
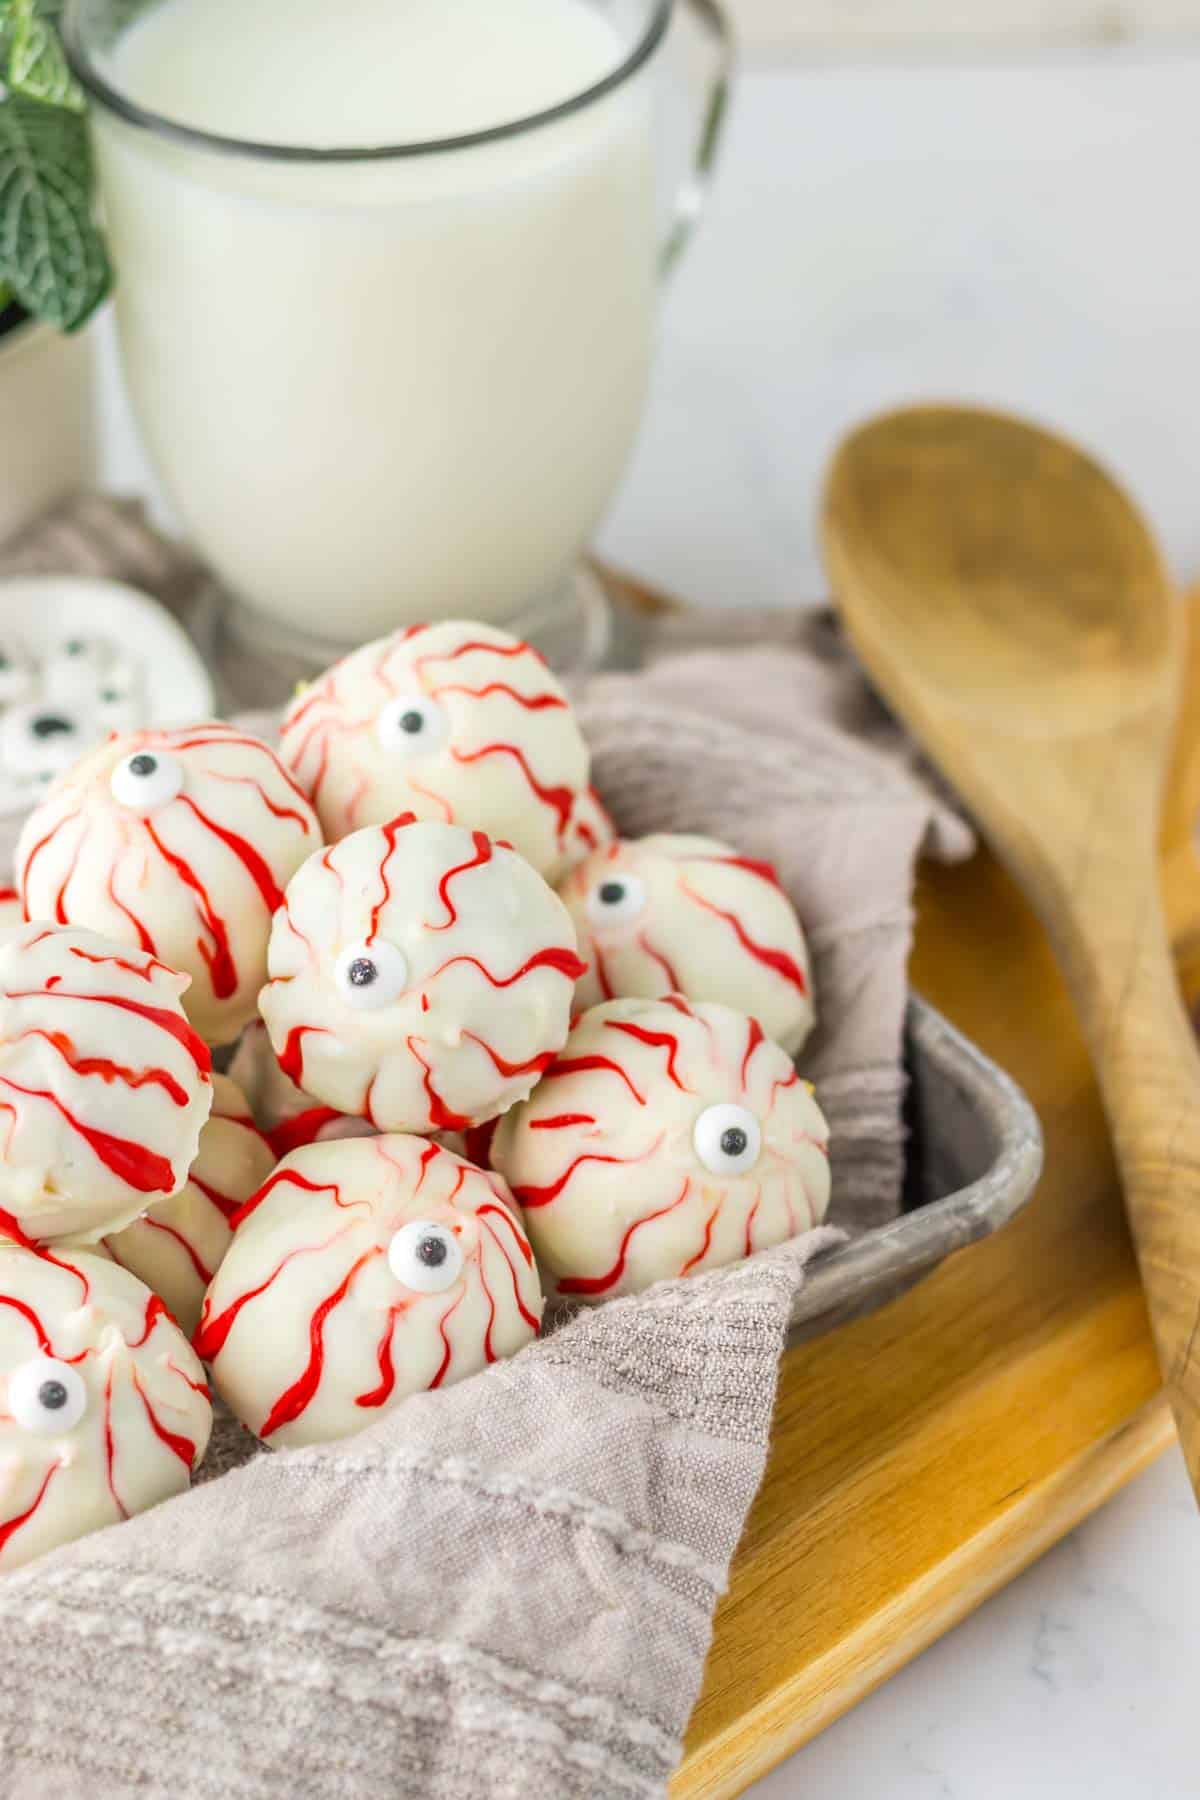
These Spooky Eyeball Truffles are a scary, fun treat that will steal the show at your next Halloween gathering. They’re easy to make, super kid-friendly, and have just enough creepy charm to get everyone talking. Plus, they’re deliciously sweet—perfect for both little and big goblins alike!

This post contains affiliate links. As an Amazon Affiliate, if you purchase through those links, I earn a small commission. Thank you!
Eyeball truffles always go down well at Halloween and I love hearing the squeals as the kids and adults spot them. They’re easy to make, you can make them ahead, and even the kids can get involved in making them – what’s not to love?
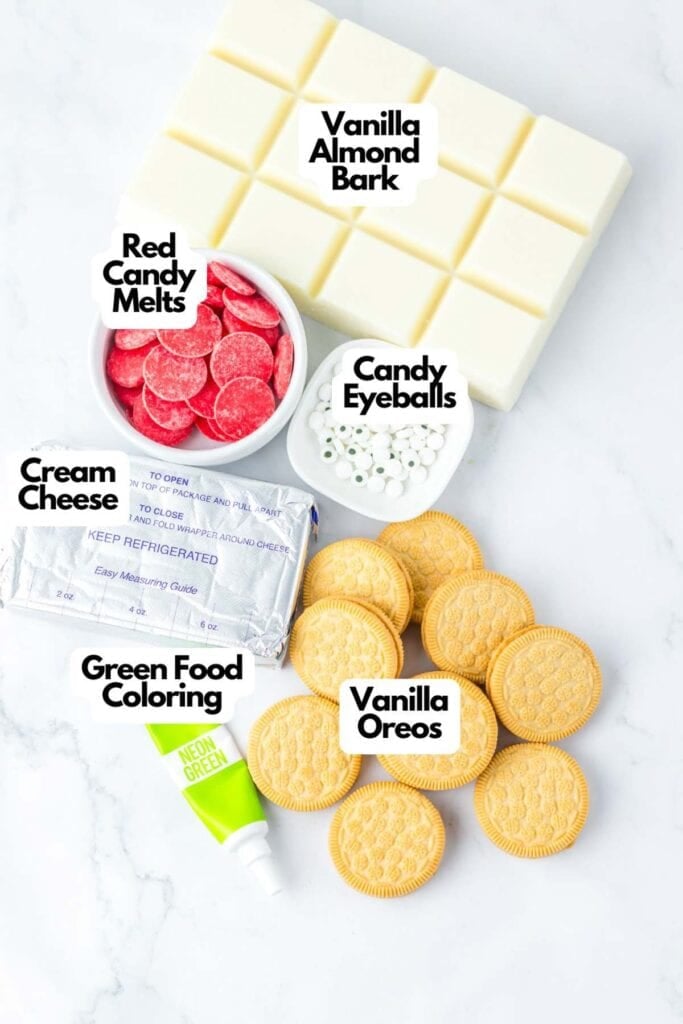
Ingredients You’ll Need
You’ll need all the ingredients shown in the photograph below.
How to Make Spooky Eyeball Truffles with Step-By-Step Instructions
Scroll down for the full recipe card containing a full printable recipe and measurements in both US customary and metric units.
You’ll love how easy these spooky eyeball truffles are to make; just follow my simple steps below.
Crush the Cookies
Start by crushing the vanilla Oreos in a food processor until you get fine crumbs. Pour the crumbs into a large mixing bowl.
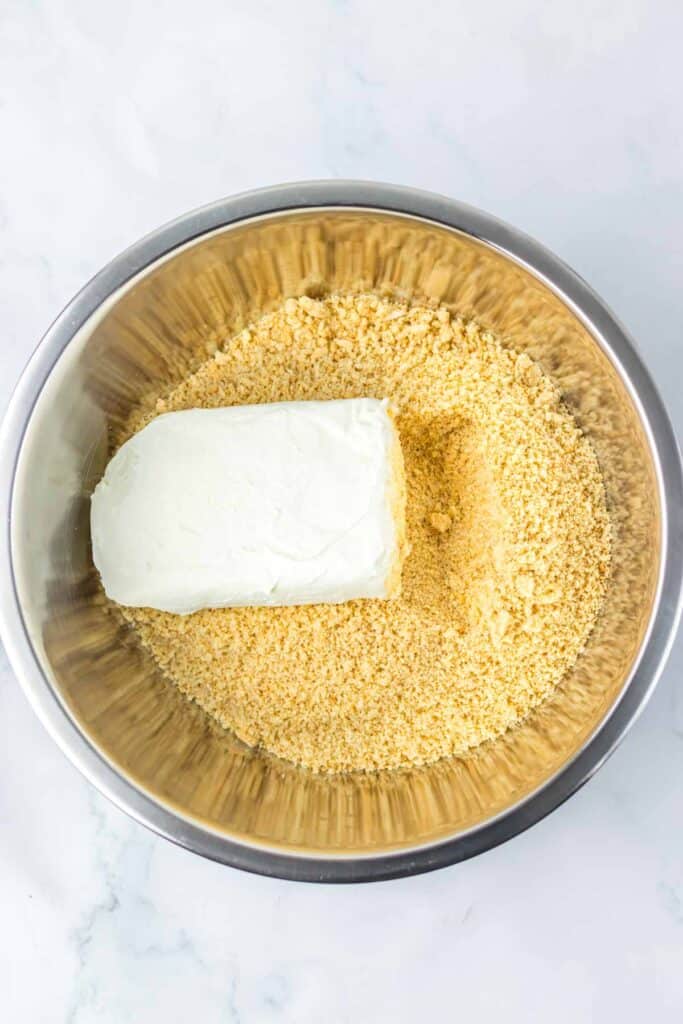
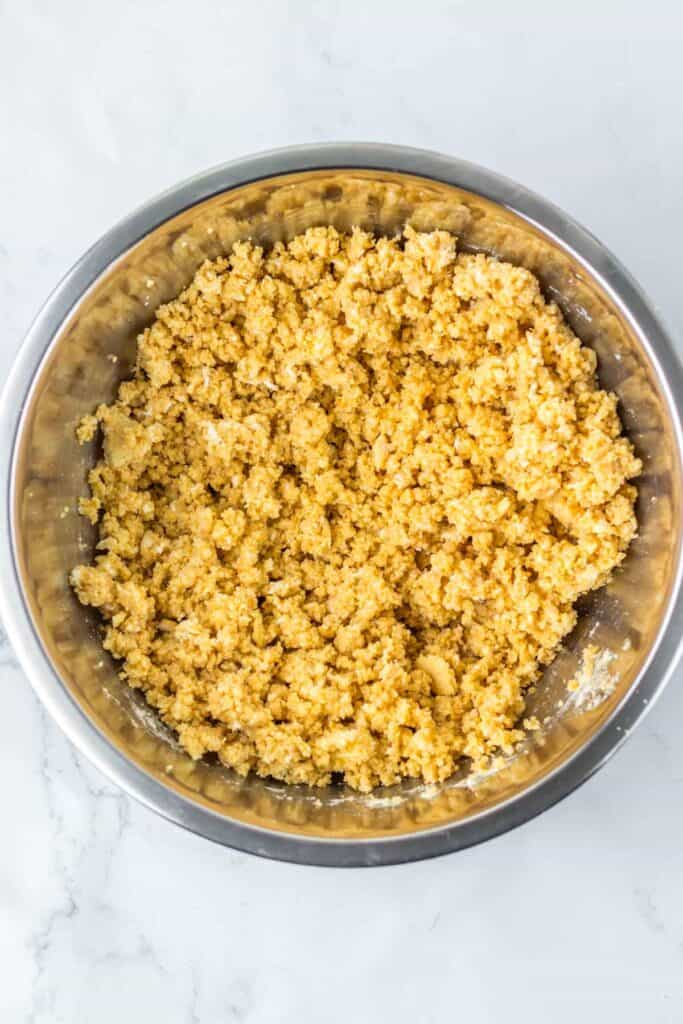
Mix in the Cream Cheese
Add the softened cream cheese to the Oreo crumbs. Use a hand mixer to blend everything together until it’s smooth and well combined—this should look a bit like a green cookie dough.
Color the Mixture
Add in your green food coloring—10 drops is a good start, but feel free to add more if you want a bolder color. Mix until the color is even throughout.

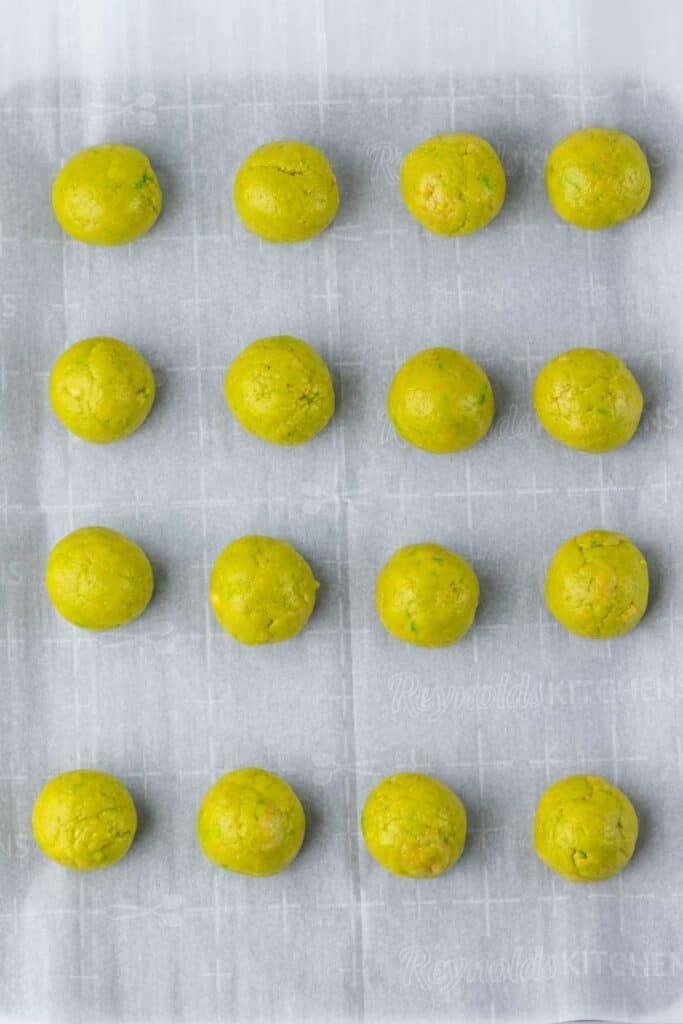
Form the Eyeballs
Line a baking sheet or tray with parchment paper. Take about 1 ½ tablespoons of the mixture, roll it into a ball with your hands, and place it on the tray.
Keep rolling until you’ve used up all the mixture. Pop the tray in the freezer for about an hour to let them firm up.
Prepare the Coatings
While the truffles are freezing, melt your almond bar and red candy melts in separate microwave-safe bowls.
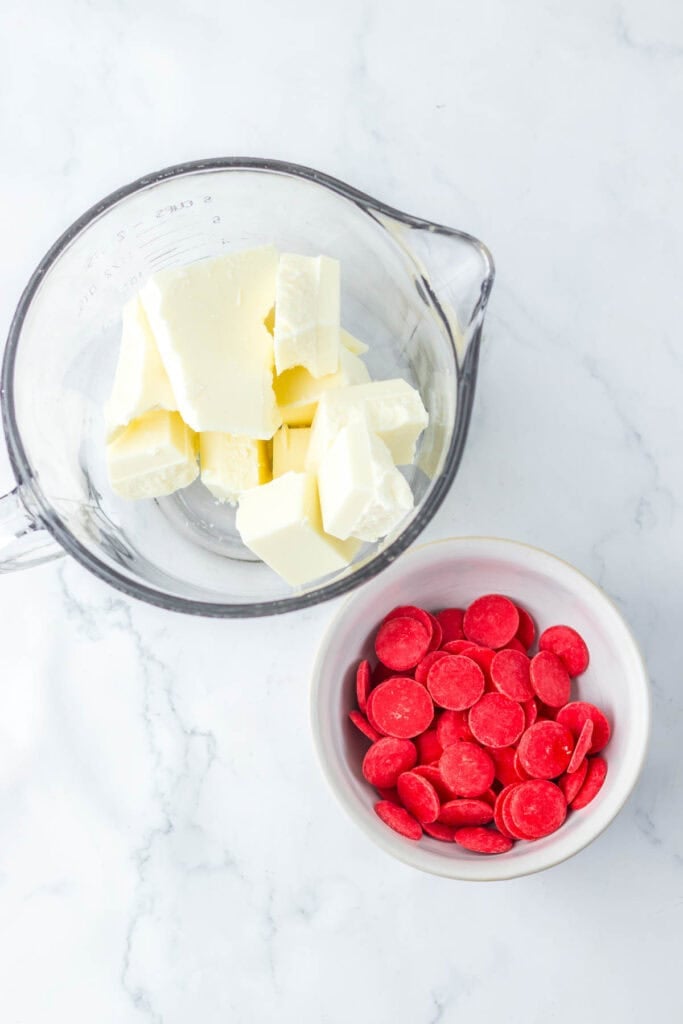
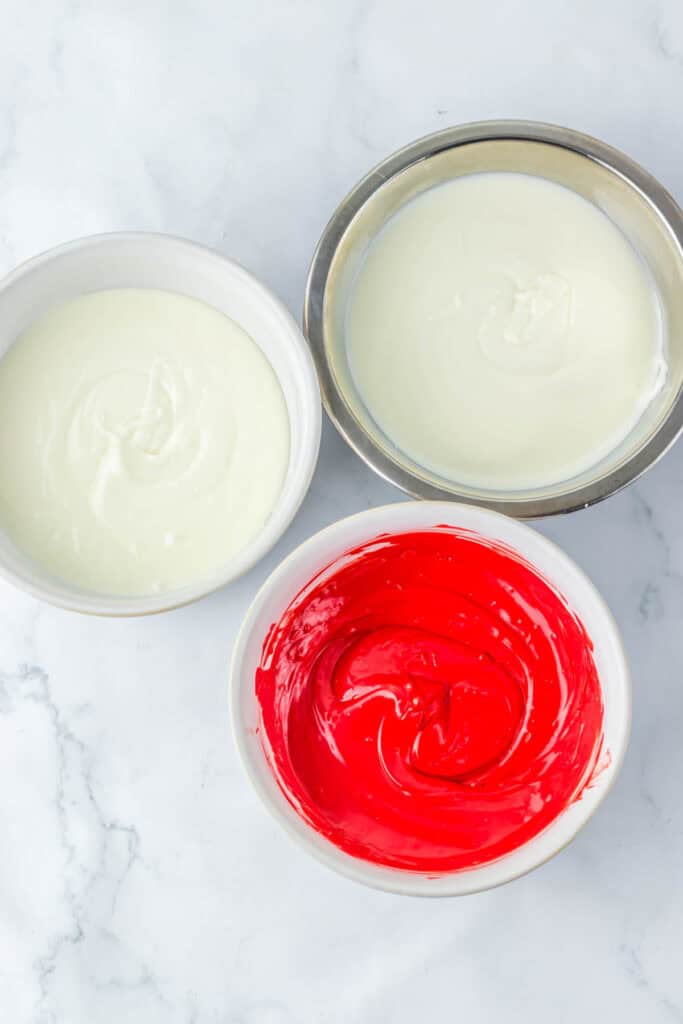
It’s a good idea to split the almond bark between two bowls for easier dipping.
Coat the Truffles
Take the truffles out of the freezer. One by one, dip them into the melted almond bark. Use two forks to flip each truffle around to coat it completely.
Once it’s covered, lift it out with the fork and scrape off any excess almond bark before placing it back on the parchment-lined tray.
Make Them Look Like Spooky Eyeballs
This is where it gets fun! Grab a toothpick, dip it in the red candy melts, and draw lines up the sides of each truffle, starting from the bottom and dragging upwards.
This creates a creepy vein effect. Leave a space clear at the top center for the candy eye. Place a candy eye on top while the almond bark is still wet so it sticks properly.
Repeat for each truffle—work one at a time to make sure the coating doesn’t harden before you finish decorating.
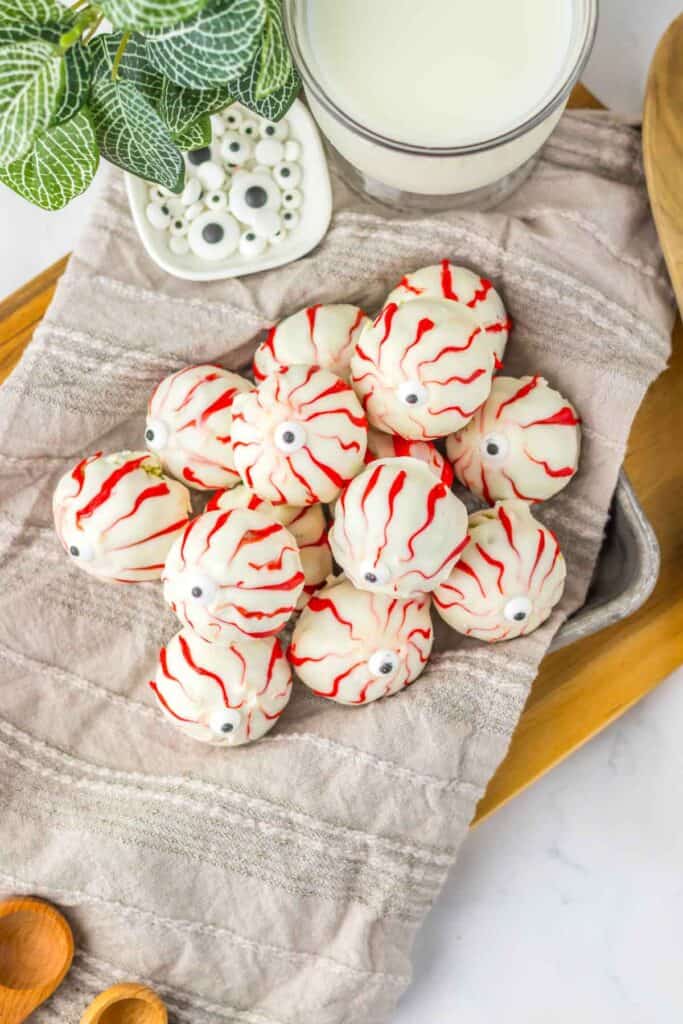
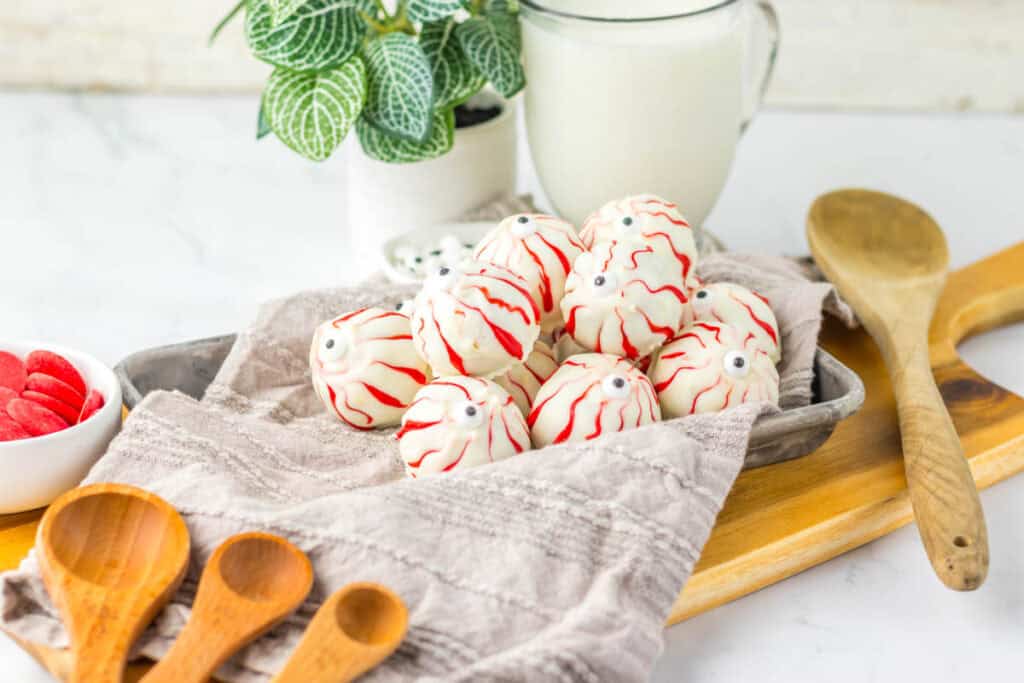
Let Them Set
Let the truffles sit for about 5 minutes so everything hardens up. And that’s it—you’ve got your own set of spooky Eyeball Truffles!
Recipe Notes and Expert Tips
Here are some extra tips and tricks to make your eyeballs scarily perfect!
- Freeze Before Dipping: Freezing the truffles makes dipping way easier. They hold their shape and don’t fall apart in the almond bark.
- Keep It Smooth: After dipping, gently tap the fork against the side of the bowl to get rid of extra almond bark. This helps the coating stay smooth.
- Red Candy Melt Tip: If the red candy melts start getting thick while you’re making the veins, just pop them back in the microwave for a few seconds to loosen them up.
- Thin Vein Lines: Wipe the toothpick after each line to keep your veins clean and defined.
- Speed Is Key: Make sure to place the candy eyes on each truffle while the coating is still wet. If it hardens, the eyes won’t stick as well.
- Storage Tip: If you’re not eating these right away, keep them chilled. They stay firmer that way.

How to Store Leftover Eyeball Truffles
You can store leftover truffles in an airtight container in the refrigerator for up to a week.
These aren’t great for freezing—the almond bark can crack or become discolored once thawed.
More Easy Recipes for You to Try at Home
Looking for some more fall recipes? Try some of my favorites.
- Chocolate Pumpin Patch Brownie Cake
- Pumpkin Cookies
- Pumpkin Caramel Cake
- Pumpkin Bread with Maple Frosting
- Pumpkin S’mores Cookie Cake
Ingredients
- 13 ounces pack vanilla Oreos
- 8 ounces package cream cheese softened at room temp
- 10 drops green food coloring
- 24 ounces bar vanilla almond bark
- ½ cup red candy melts
- 20 candy eyeballs
Instructions
- Crush the vanilla Oreos in a food processor until they turn into fine crumbs. Transfer the crumbs into a large bowl, add the softened cream cheese, and mix thoroughly with a hand mixer until well blended.13 ounces pack vanilla Oreos, 8 ounces package cream cheese
- Add the green food coloring, using about 10 drops or as many as needed to reach your desired shade, and mix again until the color is even.10 drops green food coloring
- Line a baking sheet with parchment paper. Scoop about 1 ½ tablespoons of the mixture, roll it into a ball with your hands, and place it on the tray. Repeat until all the mixture is used. Freeze the balls for about an hour.
- While the truffles are freezing, melt the almond bark and red candy melts in separate microwave-safe bowls. Divide the almond bark into two bowls for easier handling when dipping.24 ounces bar vanilla almond bark, ½ cup red candy melts
- Remove the truffles from the freezer. One at a time, dip them into the melted almond bark, using two forks to flip and coat each truffle completely. Once coated, lift it out with a fork and let the excess bark drip off before placing it back on the parchment-lined tray.20 candy eyeballs
- Take a toothpick, dip it in the red candy melts, and draw thin lines starting at the bottom of the truffle and dragging upwards, making it look like veins. Leave the top center clear for the candy eye. Place the candy eye on top while the coating is still wet to ensure it sticks. Repeat for each truffle, working one at a time to keep the coating from hardening before decoration and wiping the toothpick after each eye.
- Let the truffles sit for about 5 minutes until the coating is fully hardened. They're ready to serve and enjoy!
Notes
- Freeze Before Dipping: Freezing the truffles makes dipping way easier. They hold their shape and don’t fall apart in the almond bark.
- Keep It Smooth: After dipping, gently tap the fork against the side of the bowl to get rid of extra almond bark. This helps the coating stay smooth.
- Red Candy Melt Tip: If the red candy melts start getting thick while you’re making the veins, just pop them back in the microwave for a few seconds to loosen them up.
- Thin Vein Lines: Wipe the toothpick after each line to keep your veins clean and defined.
- Speed Is Key: Make sure to place the candy eyes on each truffle while the coating is still wet. If it hardens, the eyes won’t stick as well.
- Storage Tip: If you’re not eating these right away, keep them chilled. They stay firmer that way.