Hot Chocolate Bombs

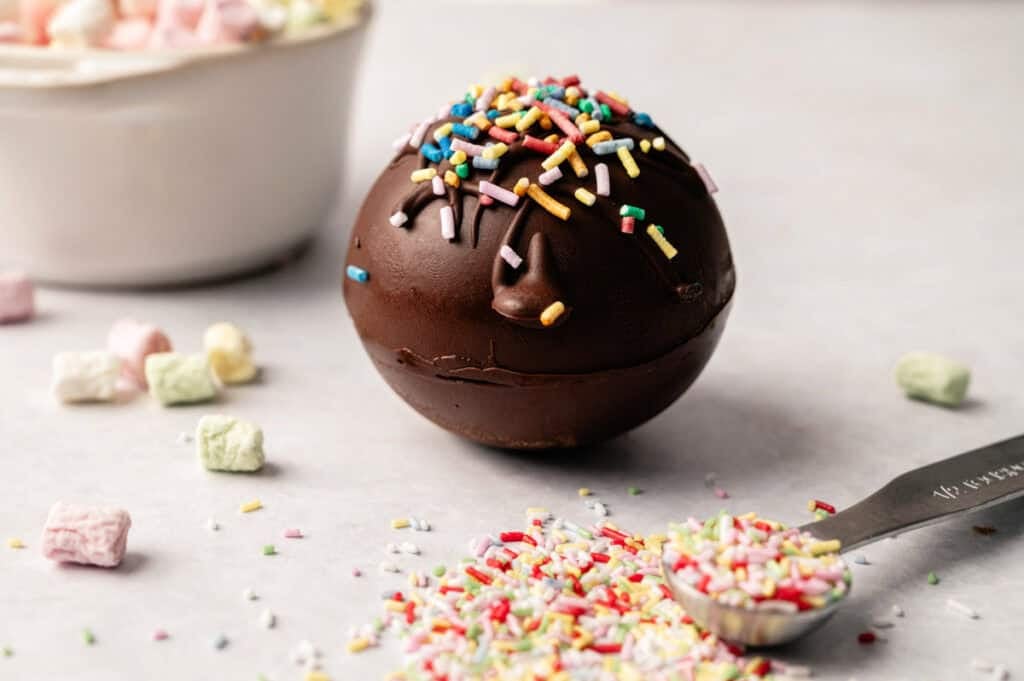
I love watching Hot Chocolate Bombs crack open the moment I drop one into my mug. The cocoa mix swirls out with tiny marshmallows, turning plain hot milk into rich, creamy hot chocolate. Every sip is smooth and warm with bits of melted chocolate and marshmallow sweetness that keep you coming back for more.
This post contains affiliate links. As an Amazon Affiliate, if you purchase through those links, I earn a commission. Thank you!
I make them for Christmas, holiday parties, and homemade gifts because they’re so much fun, and kids and adults alike absolutely love them. They’re special and festive, perfect for cold winter evenings when you want to wow everyone with homemade hot cocoa. Store them at room temperature for up to 2 weeks or in the fridge for up to a month.
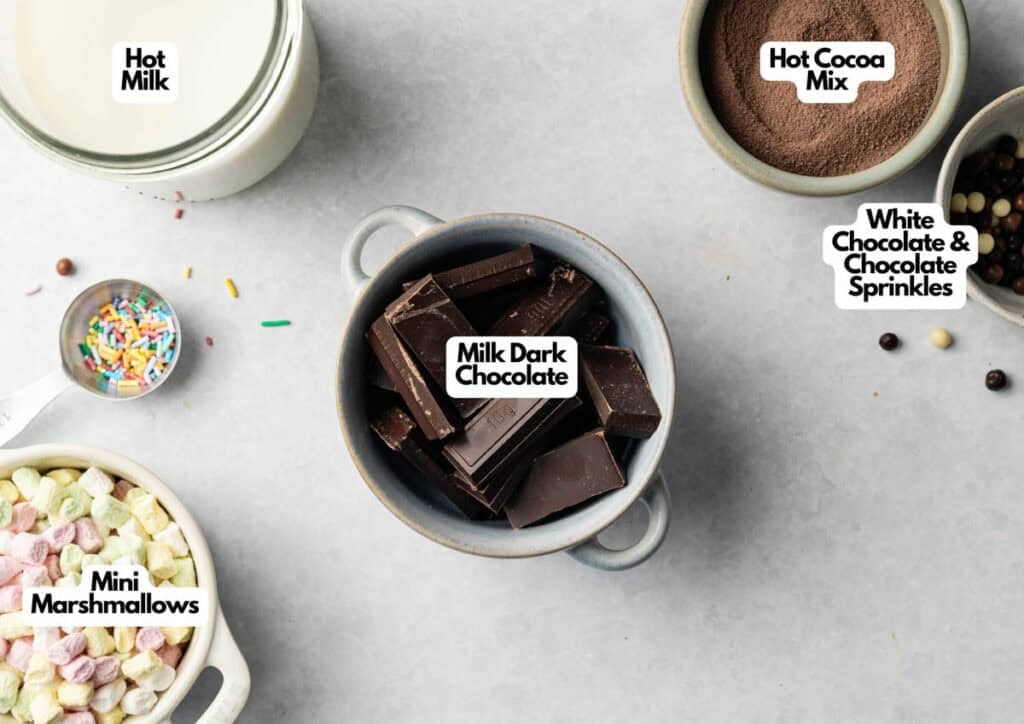
Ingredients You’ll Need
You’ll need all the ingredients shown in the photograph below.
How to Make Hot Chocolate Bombs with Step-By-Step Instructions
Scroll down for the full recipe card containing a full printable recipe and measurements in both US customary and metric units.
I’ll walk you through the simple process of melting chocolate, molding the shells, and sealing them into perfect spheres.
Melt the Chocolate
Place milk or dark chocolate in a microwave-safe bowl and melt in 30-second intervals, stirring between each one until smooth. You want it completely melted with no lumps.
Coat the Molds
Set a silicone sphere mold on a tray for stability. I like using this silicone sphere mold, which works perfectly for this and releases the shells cleanly.
Spoon ½ to 1 tablespoon of melted chocolate into each cavity, then use the back of a spoon to spread it evenly up the sides. You’re aiming for a thin but solid layer that covers every inch of the mold.
SERIOUSLY GOOD
DESSERTS!
Dessert First is a collection of 61 RECIPES to show you that you can make beautiful, impressive desserts right in your own kitchen, no matter your skill level.
Immediate eBook download. No physical book available.
∙ Lemon Pound Cake
∙ Starbucks Cake Pops
∙ Boston Cream Pie
∙ Chocolate Mousse
∙ Matcha Tiramisu
...and much more!
Includes ad-free recipes like:

Freeze and Check Thickness
Freeze the mold for 10 minutes to allow the chocolate to harden. Pull it out and check the edges. If they look thin or translucent, add a second thin coat of chocolate to reinforce them.
Freeze for five more minutes. Thicker shells hold up better when you later pour hot milk over them.
Release the Shells
Gently peel the mold away from the chocolate until all the half-spheres pop out. Work slowly so the shells don’t crack. If they’re stuck, freeze for another minute or two.
Seal the Bombs
Heat a small pan or plate over low heat or in the microwave for a few seconds. I use a mini appetizer plate to warm the rims because it heats evenly and doesn’t scorch the chocolate.
Press the edge of one chocolate shell against the warm surface for a few seconds to slightly melt the rim. Immediately add 1 tablespoon of hot cocoa mix and 10 to 12 mini marshmallows to the shell while the rim is still soft.
Melt the rim of another shell in the same way, then place it on top to form a complete sphere. The melted edges stick together as they cool.

Decorate
Drizzle melted white chocolate over the sealed bombs, then add chocolate sprinkles while the drizzle is still wet so they stick. These squeeze bottles make drizzling way easier and less messy than using a spoon.
You can use any toppings you like.
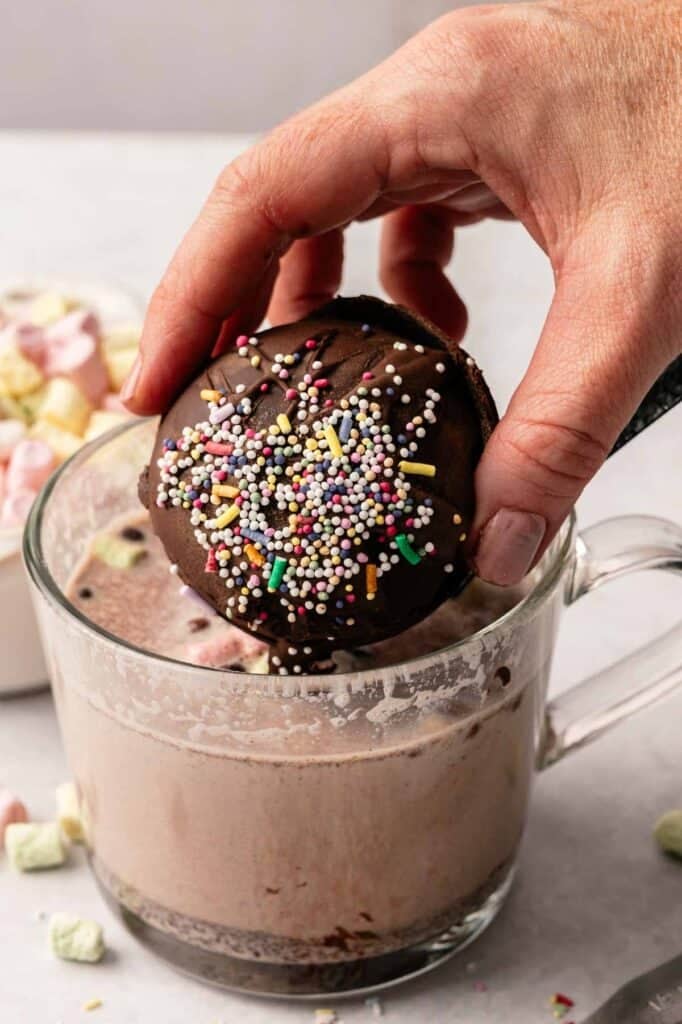
Serve
Place one hot chocolate bomb in a mug. Pour 6 to 8 ounces of hot milk over it and watch the shell melt and release the cocoa and marshmallows.
Stir until everything dissolves and enjoy!
If you’re taking hot chocolate bombs to a party or giving them as gifts, wrap each one individually in a cellophane treat bag like this one, then tie it with ribbon so they don’t bump into each other during transport.
An insulated casserole carrier is great for keeping them cool during transport if you’re worried the chocolate might melt in a warm car, especially in summer or on longer trips.

Equipment
Ingredients
- 10 ounces milk or dark chocolate
- 6 tablespoons hot cocoa mix
- 1 cup mini marshmallows
- White chocolate and chocolate sprinkles for decoration
For serving:
- 6 cups hot milk
Video
Instructions
- Place chocolate in a microwave-safe bowl and melt in 30-second intervals, stirring until smooth.10 ounces milk or dark chocolate
- Set a silicone sphere mold on a tray. Spoon ½–1 tablespoon melted chocolate into each cavity.
- Use the back of a spoon to spread the chocolate evenly up the sides. Freeze for 10 minutes. Check the shells. If the edges look thin, add a second thin coat. Freeze for 5 more minutes.
- Gently peel the mold away from the chocolate until all half-spheres are released.
- Heat a small pan or plate. Press the edge of one chocolate shell against the warm surface for a few seconds to melt the rim.
- Add 1 tablespoon hot cocoa mix and 10–12 mini marshmallows to each bottom shell.6 tablespoons hot cocoa mix, 1 cup mini marshmallows
- Melt the rim of another shell and place it on top to form a complete sphere.
- Drizzle with melted chocolate and add sprinkles.White chocolate and chocolate sprinkles
- Place one hot chocolate bomb in a mug. Pour 6–8 ounces hot milk over it, stir, and enjoy!6 cups hot milk
Notes
- Use high-quality chocolate: Chocolate chips don’t melt as smoothly as bar chocolate because they contain stabilizers, so I recommend using a good-quality chocolate bar chopped into pieces for the shells.
- Flash-freeze the shells: Freeze the molds for 10 minutes after coating so the chocolate sets quickly and releases cleanly without sticking or cracking.
- Warm the pan gently: Don’t overheat the surface when melting the rims or the shells will melt too much and collapse. A few seconds of contact is all you need.
- Don’t overfill the shells: Stick to 1 tablespoon of cocoa mix and 10 to 12 marshmallows per bomb so the filling doesn’t spill out when you seal the halves together.
- Work quickly when sealing: Once you melt the rim, press the two halves together right away before the chocolate hardens again, or they won’t stick.
- Storage trick: Place each finished bomb in a cupcake liner before storing so the decorations don’t smudge and the bombs don’t roll around in the container.
Nutrition
How to Store Leftovers
Keep them in an airtight container at room temperature for up to 2 weeks. Airtight glass containers are effective for keeping food organized and protected.
Stack them in a single layer or separate layers, using parchment paper to prevent sticking or rubbing off decorations. If your kitchen is warm, store them in the fridge for up to a month.
They don’t freeze well because the temperature change can cause the chocolate to develop a white film called bloom, which doesn’t affect the taste but makes them look dull. If you need to make them ahead, store them at room temperature or in the fridge.
SERIOUSLY GOOD
DESSERTS!
Dessert First is a collection of 61 RECIPES to show you that you can make beautiful, impressive desserts right in your own kitchen, no matter your skill level.
Immediate eBook download. No physical book available.
∙ Lemon Pound Cake
∙ Starbucks Cake Pops
∙ Boston Cream Pie
∙ Chocolate Mousse
∙ Matcha Tiramisu
...and much more!
Includes ad-free recipes like:
What to Serve With Hot Chocolate Bombs
I like serving them with buttery shortbread cookies, cinnamon rolls, or gingerbread because the richness of the hot chocolate pairs well with something a little sweet and crunchy or soft and spiced. You can also set out a toppings bar with whipped cream, crushed candy canes, caramel sauce, and extra marshmallows so everyone can customize their mug.
They’re also great alongside breakfast pastries like croissants, cinnamon twists, or chocolate chip muffins for a cozy winter brunch spread. The hot chocolate feels special without being too heavy.
More Easy Dessert Recipes for You to Try at Home
You’ll love these other chocolate dessert recipes perfect for holiday parties and gifting.